A first touch that looks fine in a casual passing session often fails in a match, and the cause is usually pressure rather than technique. Most solo practice is done with no time limit, no awkward angle and no reason to look up. The ball arrives, you control it, and you take as long as you like. That builds a clean touch in easy conditions and little else.
The first touch drills for soccer under pressure below fix this by breaking the touch into three mechanics, then adding pressure in stages with a clock, difficult angles and constraints. All you need is a ball, a wall or rebounder and a few cones. Each stage ends with a pass or fail test, so you know when to move up.
What a good first touch actually does in the first half second
A first touch has two jobs, and they happen almost together. The first is to get the ball under control. The second is to put the ball where your next action is easy: a pass, a dribble, a shot or a turn away from trouble.
A touch that controls the ball but leaves it under your feet has done half the job. You now need a second touch to move it, and against a defender that extra touch is the one that gets tackled. A touch that moves the ball half a yard toward open space has already started your next action.
So judge a first touch by what it sets up. Ask where the ball is after the touch, how far it is from your body, and whether you can play your next action without adjusting your feet first.
The three mechanics: body shape, surface and cushion, and the scan
Every first touch depends on three things. A weakness in any one of them shows up under pressure, so it helps to train them separately before putting them together.
Body shape before the ball arrives
Body shape is how you are standing as the ball travels toward you. A player who receives square to the passer, facing the ball with both feet level, can only play back the way the ball came. A player who receives half turned, with the hips open toward the field and the receiving foot ready, has more directions to choose from.
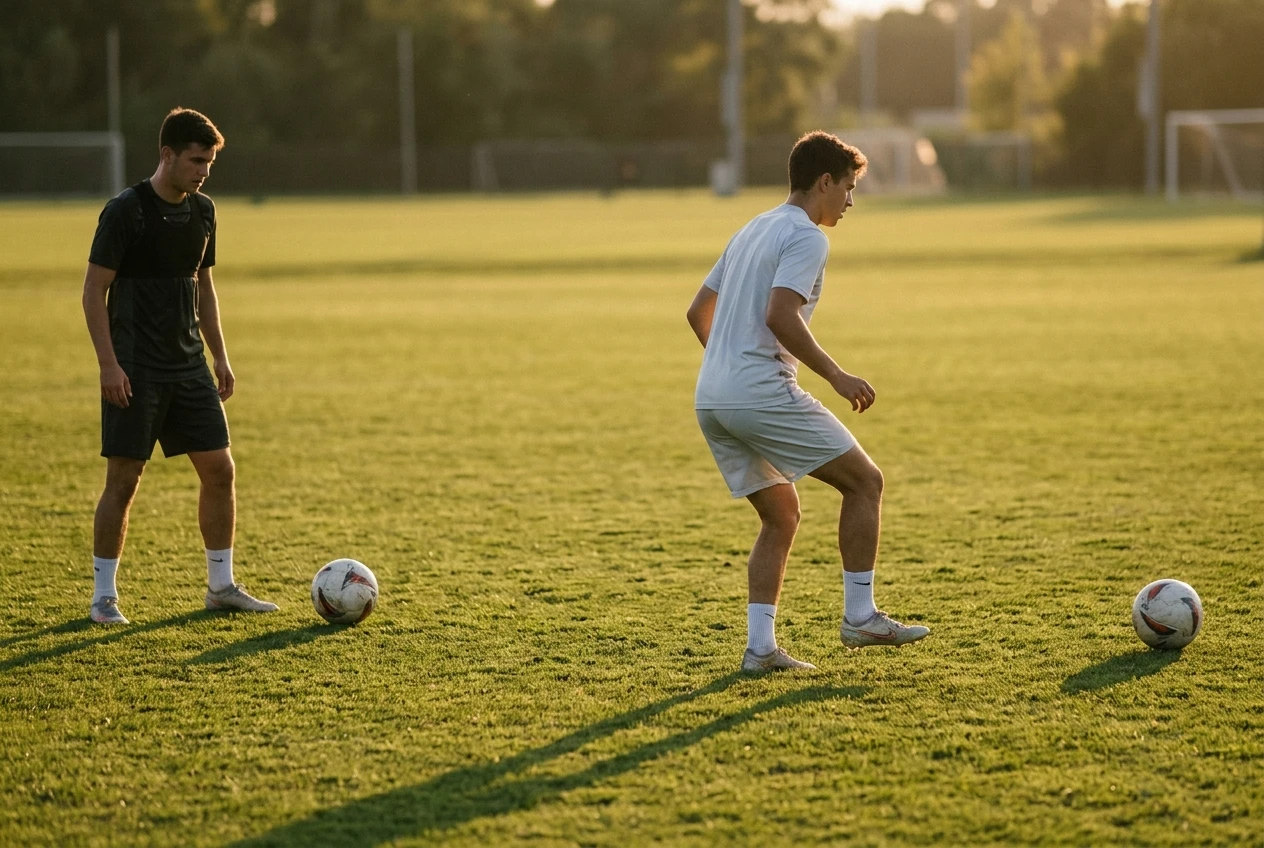
Three habits make up good body shape:
- Stand on your toes with your weight slightly forward, not flat-footed.
- Open your hips so your chest points partly toward the space you want to use.
- Keep the receiving foot slightly off the ground and ready, so you are not lunging at the ball when it arrives.
Surface and cushion
You have two basic choices for how to meet the ball. A cushion touch absorbs the pace: the receiving surface (inside of the foot, laces, thigh or chest) gives slightly on contact so the ball drops close to you. A directional touch redirects the pace: the surface stays firm or pushes through the ball so it travels into a chosen space.
Neither is better. Cushioning suits a slow, safe moment when you have time. A directional touch suits a moment when someone is closing you down and you need to be somewhere else. Many players only have one of the two, and they use it in every situation.
The surface also decides direction. The inside of the foot sends the ball across your body, the outside of the foot sends it away from your body, and the sole pins it. Practise all three on both feet.
The scan
The scan is a quick look around, done before the ball arrives, to see where defenders and teammates are. Players who only look at the ball have to choose their touch blind. Players who scan have already decided where the ball is going.
The key is when you look. A glance after the ball arrives is too late, because the touch is already made. The useful looks are early, while the ball is still travelling to you, and then one more just before contact. If you want to build this decision-making habit beyond solo work, how to build tactical intelligence as a soccer player covers what players should be looking for when they scan.
Why touches break down when a defender closes in
When a defender is close, three things change at once. You have less time, less space and a reason to rush. Each one attacks a different mechanic.
Less time makes players skip body shape. They stay square and take the ball where they stand. Less space makes the cushion touch risky, because a ball that drops close to you is easy to tackle. Rushing makes players stop scanning. They stare at the ball, hoping to get it under control, and only look up after the touch.
The result is a predictable pattern. The touch is too heavy and runs away, or too soft and gets stolen, or it settles the ball perfectly in the one place the defender can reach. Practice that never adds time pressure, awkward angles or a decision to make cannot expose any of these faults.
A defender is not required to train around them. You can reproduce each kind of pressure alone: shrink the time with a clock, shrink the space with cones, and force a decision with a rule about where the ball must go. That is the logic of the four stages.
Stage 1: Wall passes that train soft hands and a settled ball
The first stage trains body shape and the cushion touch in easy conditions. You need a wall or rebounder and about five to eight yards of space.
The drill: Pass the ball firmly against the wall with the inside of your right foot. As it returns, receive it with the inside of the same foot and let it settle within one stride of where you stand. Pass again with the same foot. After 20 repetitions, switch to your left foot. Then repeat with a two-touch version, where you cushion with one foot and pass with the other.
What to focus on:
- Open your hips slightly before each return instead of standing square to the wall.
- Withdraw the receiving foot a few inches on contact so the ball loses its pace.
- Keep your head still and your eyes on the ball until contact.
Pass test: Out of 20 consecutive repetitions with each foot, at least 16 settle within one stride of your body without needing a second touch to fix them. Do this on two separate sessions before moving up. If a foot falls short, stay on this stage for that foot.
Stage 2: Directional touches that take you away from pressure
Stage 2 adds the idea that the touch should move you somewhere. Put two cones about three yards apart, each about two yards to the side of where you stand, to make an exit on each side. Imagine a defender standing in front of you and slightly to one side.
The drill: Pass to the wall and receive the return with a directional touch, using the outside or inside of the foot, so the ball rolls through the left or right exit. Collect the ball and pass again to the wall from the new position. Alternate exits: left, right, left, right.
What to focus on:
- Choose the exit before the ball returns, not after it arrives.
- Use the surface that takes the ball away from your imaginary defender. If the defender is on your right, take it left with the outside of your left foot or the inside of your right.
- Keep the touch the right length. About a yard past the cone line is enough. A ball hit too hard forces you to chase it.
Pass test: Complete 20 repetitions where the ball stops inside a marked zone about two yards past the exit line, at least 15 of them without a second corrective touch. Run the test once with each foot as the first-touch foot. If the ball keeps running past the zone, the touch is too firm, and you should go back to softer contact.
Stage 3: Adding a clock, awkward angles and bad bounces
Stage 3 introduces the pressures that made touches fail in the first place. You can add them one at a time or together. Use a phone timer or a stopwatch placed within sight.
Add a clock. Set a limit for the whole sequence of receive, touch and pass. A good starting point is two seconds from first contact to the next pass. Reduce it gradually as the test below is passed. The clock is meant to force you to decide early, not to make you rush a poor touch.
Add awkward angles. Stand so the return comes from an angle instead of straight on. Angle yourself 45 degrees to the wall, or pass off a corner of the rebounder so the ball comes back to your side or behind you. Receiving from a side-on angle forces a body shape change that straight rebounds never ask for.
Add bad bounces. Throw the ball against the wall with your hands, a little high or low, so that it returns on the bounce or hops unpredictably. Receive with the thigh, the laces or the chest, as well as the foot. Uneven surfaces and a worn wall add more of this. A rebounder with a flat face gives more predictable returns, so a mix of surfaces is useful here.
Pass test: With a two-second limit, complete 15 of 20 repetitions where the ball ends in your intended zone and the next pass leaves your foot within the time. Do this on both feet and with at least two different angles before moving up.
Stage 4: Scan, receive and play out, with no defender needed
Stage 4 puts the scan into the sequence. The aim is to look before the ball arrives and let what you see decide where the touch goes.
Setup: Place three cones behind you in a rough arc about five yards away, two blue and one orange. The orange cone is the open exit, meaning the direction you should play out. Between repetitions, swap the positions of the cones so the open exit changes. The orange cone’s position is what you need to see before each touch.
The drill: Pass to the wall. While the ball travels, turn your head over your shoulder and find the orange cone. Receive with a directional touch toward that side, then play a pass to a target on the wall or back into the rebounder. Do not look at the cones again after the touch.
What to focus on:
- Complete the first look early, as soon as the ball leaves your foot.
- Take a second look just before contact if there is time.
- Say the colour or the side aloud while the ball is returning. This confirms you looked.
Pass test: Out of 20 repetitions, you identify and take the open exit correctly at least 16 times, with a clean touch and the next pass inside the time limit from Stage 3. Mistakes where you looked but still chose the wrong side count as failures, because they show the scan did not drive the decision.
Cones work for this. If you are unsure which markers suit which drill, this comparison of training cones and agility markers helps you choose.
How to track progress and know when to move up a stage
A player cannot tell from feel alone whether a touch is improving, because good days and bad days blur together. A simple record fixes that.
Keep a small notebook or a phone note with four columns: date, stage, score out of 20 for each foot, and one sentence on the main fault. The fault line matters most. Entries such as “too heavy on the left”, “stayed square” or “looked after the touch” show you which mechanic to fix.
Use these rules to decide when to move on:
- Move up when you pass the stage test in two separate sessions, not on one good day.
- Stay if one foot passes and the other does not. Work the weaker foot at the current stage while you start the next stage on the stronger one.
- Move back if scores drop by more than a few repetitions when you add a new pressure. Return to the earlier stage for a session and try the new pressure at a milder setting.
Short, frequent sessions suit this work better than one long session, because a tired touch teaches poor habits. A session of 15 to 20 minutes at one stage is enough.
If you film your sessions or matches, checking the footage shows things a score cannot. How to analyze your own soccer match footage explains how to spot the pattern of heavy touches and late scans in real games, so your drill scores can be compared with what happens when a defender is actually there.
Progress is real when it carries into matches. Once Stage 4 feels routine, the clearest sign is that you stop thinking about the touch and start noticing space, because the first part of the job is already automatic.
Pair this drill ladder with the rebounder guide so your solo sessions have the right gear behind them.