Most home training setups go wrong in the same order: the player buys gear first and works out where it goes afterward. A full-size goal arrives and will not fit in the yard. A ladder sits unused because the garage floor is covered in boxes. A soccer home training setup on a budget works the other way around. You decide how much space you have, then add equipment in the order that trains the most per square foot.
This guide is a build order for one player training alone. It ties together the gear reviews already on this site, so each section points to the deeper comparison when you reach the buying stage. I am not quoting prices here, because they change by retailer and season. The ranking of what to buy first matters more than any single number, and it will hold up while the prices move.
Start with your space, not your shopping list
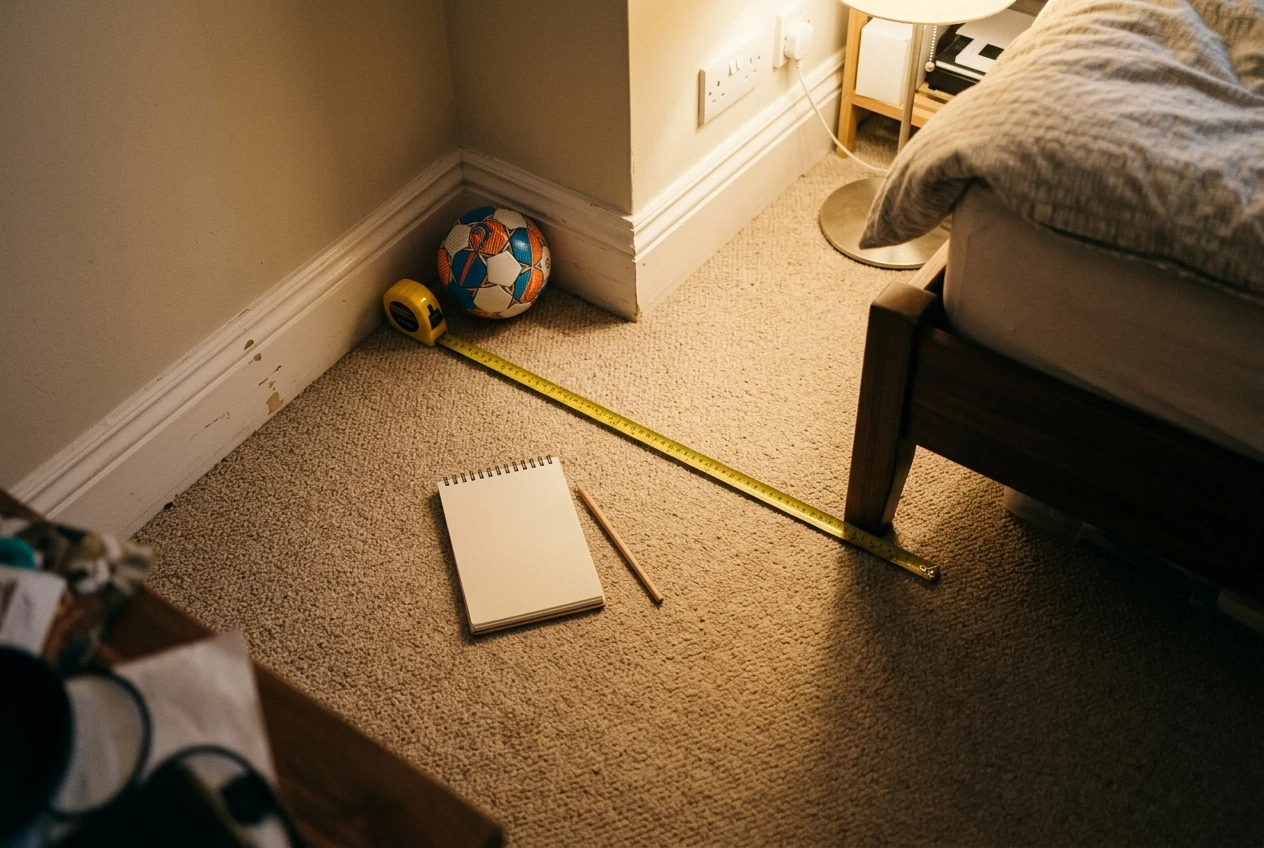
Measure before you browse. Write down three numbers for your spot: width, depth, and ceiling height if it is indoors. Then note the surface (carpet, concrete, grass, tile, deck boards) and what you can leave set up. A rebounder that stays up all week gets used far more often than one you have to drag out of a closet.
Your space will probably fall into one of four types, and each has a different limit:
- Bedroom corner: limited by noise and breakable objects. Everything here has to be quiet and low-bounce.
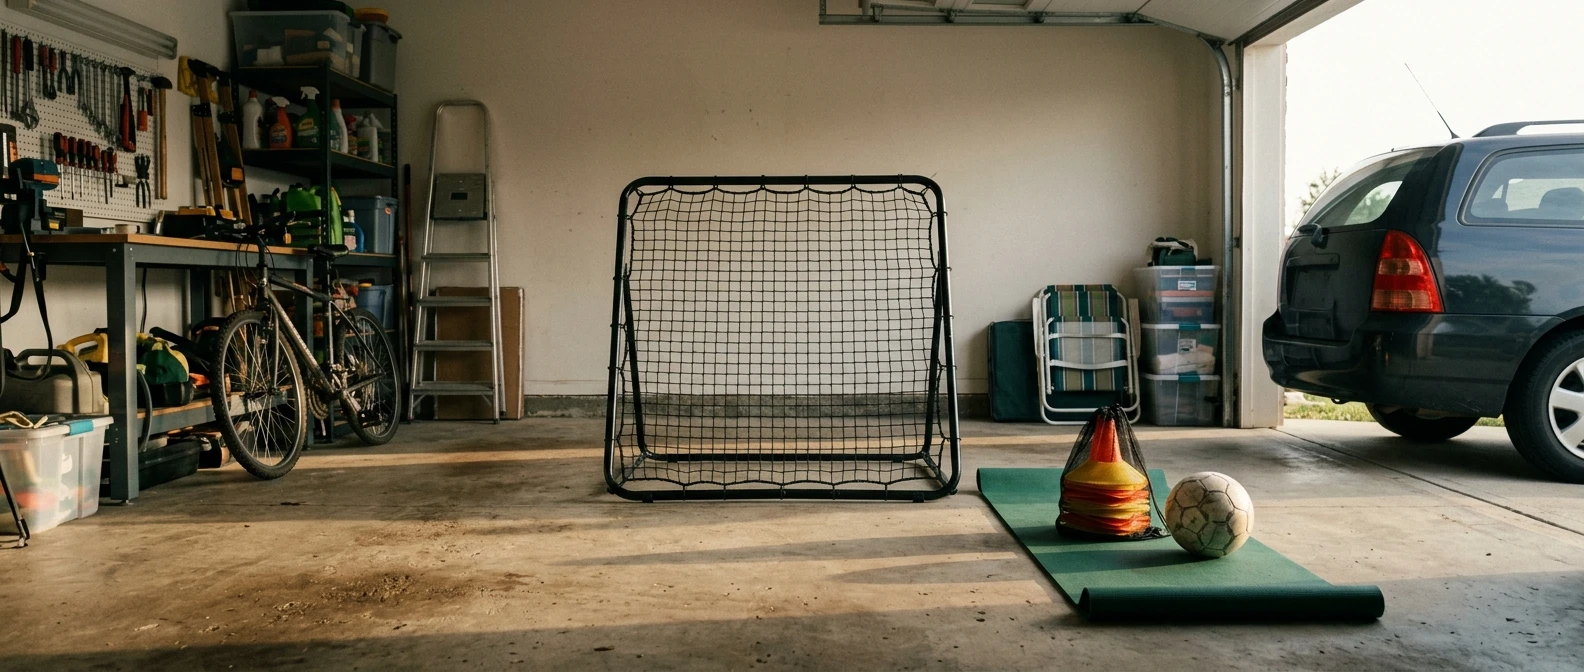
- Garage bay: limited by width and by whatever else lives in the garage. A hard floor suits footwork and passing, but the car or storage may block part of the area.
- Balcony: limited by neighbors, railings and the risk of a ball going over the edge. Close-control work and bands suit it better than shooting.
- Small yard: limited by fences, windows and the neighbors’ garden. It has the most room, but you still need to check where a missed shot ends up.
Check the surface and the household rules too. Ask whoever shares the space, and a landlord or neighbors if it matters, whether regular ball noise is acceptable. A setup that gets shut down in week two was money wasted, however good the gear was.
Last, set a spending ceiling before you open a shopping tab. With a hard limit, the build order below does the deciding for you: buy the first piece, use it, and only then ask what is missing.
The first piece to buy: a rebounder or wall setup
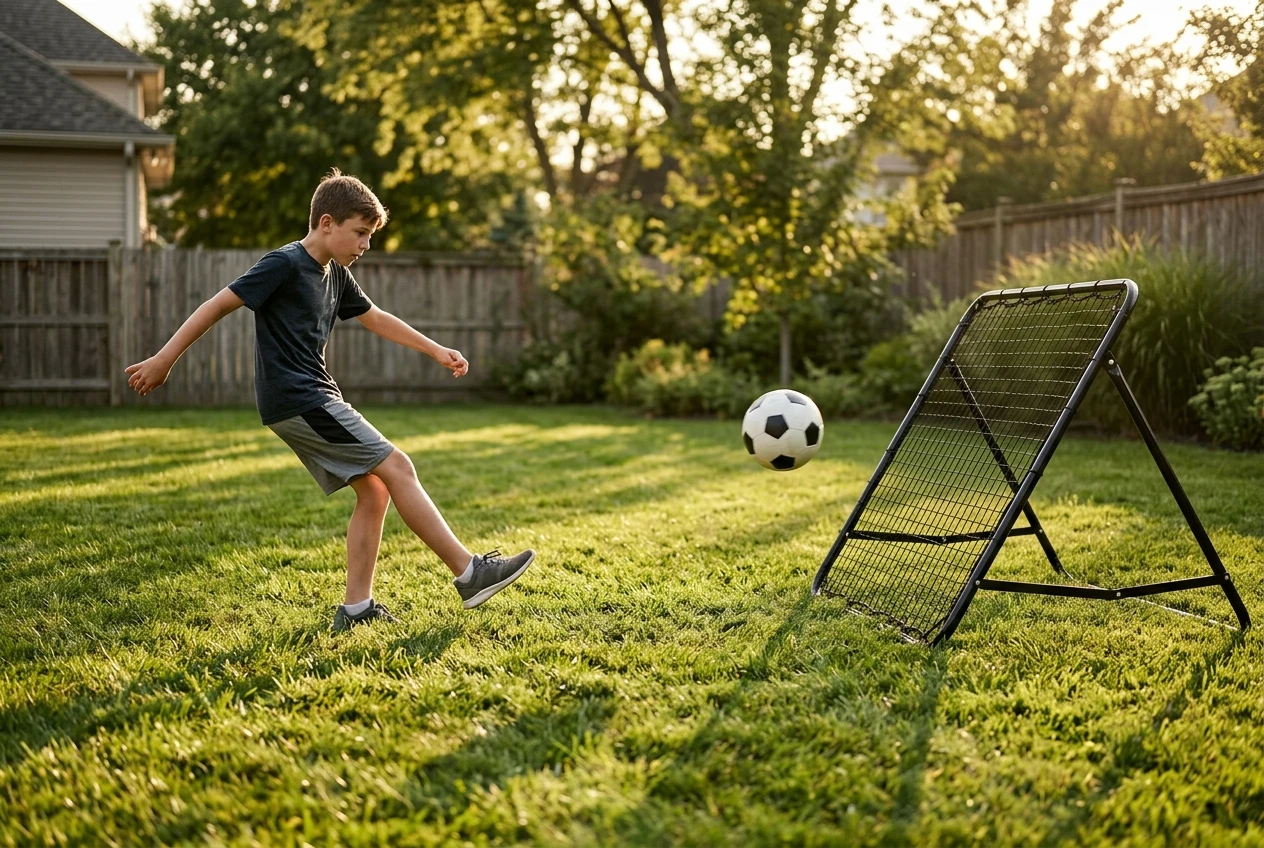
If you buy only one thing, make it a rebounder. It returns the ball to you, so a single player can do the work that normally needs a partner: short passes, first touch, volleys, and turning with the ball. Few other pieces cover this many skills in so small a footprint.
A rebounder also gives feedback. A pass hit with the wrong part of the foot comes back at an awkward angle, and a heavy touch rolls away from you. That tells you what to fix without a coach standing there.
Look at these points before you choose:
- Footprint when set up and when stored. Check the listed dimensions against the numbers you measured.
- Angle options. Adjustable angles let you practice ground passes, lofted balls and volleys on the same unit.
- Stability. A rebounder that tips or slides on your surface is frustrating and can be dangerous.
- Ball size. Match the unit to the size of ball you actually use.
If you have a solid wall with nothing breakable near it, a wall can do the same job for free. Mark a target on it with chalk or removable tape and pass at that. The drawbacks are that a wall returns the ball at one fixed angle and can scuff or mark the surface, which may matter in a rented place.
When you are ready to compare models, the best soccer rebounder nets review covers the options in detail. For indoor use, a futsal-style ball with less bounce keeps the noise and the stray rebounds down.
Footwork in a small footprint: training mats, cones and markers
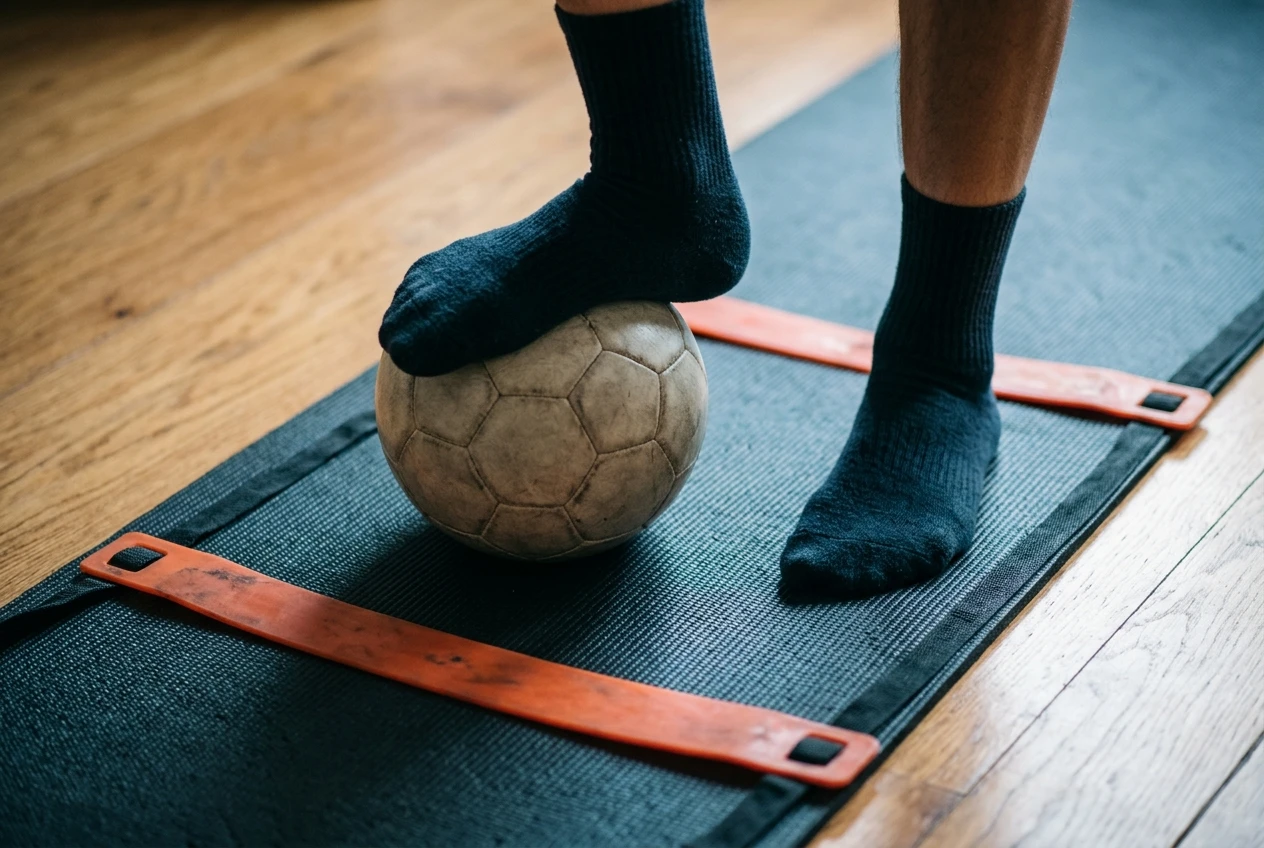
The second priority is the piece that trains footwork in the smallest area. A training mat gives you a defined, non-slip patch for close control, ball mastery, toe taps, sole rolls and quick changes of direction. It works because the ball stays within a step or two of your feet, so a bedroom corner or balcony is enough.
A mat also solves a problem on hard or slippery floors. It gives you grip, and it marks out the area so you know where the drill ends. That keeps the ball from wandering across the room and into the furniture.
When you compare mats, look at:
- Surface grip under your shoes or socks, depending on how you train
- Thickness and whether the edges stay flat
- Whether the mat slides on your floor, and whether it rolls up cleanly for storage
- How much space the listed dimensions leave around it
The best soccer training mats for footwork and ball mastery guide goes through those trade-offs.
Cones and markers come next, and you need fewer than you think. A small set marks gates to dribble through, turning points and distances, and they pack into a bag. If you are unsure which type suits which drill, training cones or agility markers explains how to choose between them. Flat markers are usually safer indoors because you will not trip on them, while taller cones are easier to see on grass.
Finishing practice without a full-size goal
Shooting is where a small space pushes back hardest, because a hard shot needs distance and a safe place for the ball to land. That is why finishing gear comes third. Buy it after the pieces that train passing and footwork in a few feet of floor.
You have two main options, and they suit different spaces.
Shooting targets hang in a goal or on a net and give you something to aim at: corners, a crossbar spot, a narrow gap. They are light, fold flat, and train accuracy rather than power. Accuracy is the thing most players can improve at home. If you already have a goal or net, this is the cheapest way to make finishing practice more demanding. The shooting targets for finishing practice at home roundup compares them.
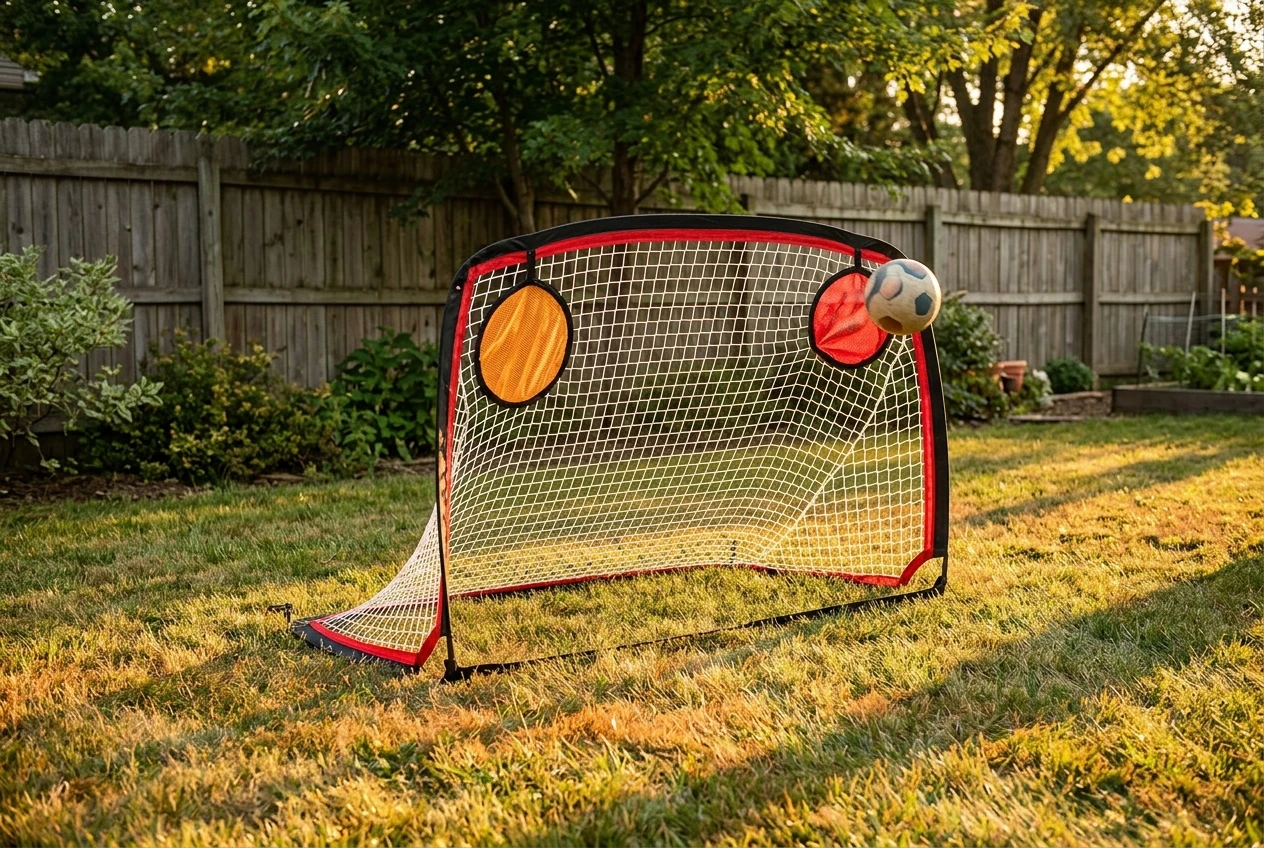
Compact nets and small portable goals catch the ball for you, which is valuable in a yard where there is nothing behind the shot. The trade-off is that you must set them up and take them down unless you can leave them out. Weigh the footprint, whether you can anchor it, and how it holds up after repeated shots. If you are still deciding, see the portable soccer goals for individual skills training comparison.
In a bedroom or on a balcony, skip power shooting altogether. Use a soft ball and short-range finishing, such as placing a side-foot finish into a marked area, or train the first touch before a shot using your rebounder.
Fitness and strength add-ons that fit in a drawer
Bands and an agility ladder are the cheapest pieces on the list and the easiest to store, but they sit fourth because they train something different. Passing, touch and finishing depend on contact with the ball. Bands and ladders build the body that supports those skills, and you can do them anywhere, with or without a ball.
Resistance bands let you work the hips, glutes and legs with almost no space: lateral walks, bridges, hip abduction, and added resistance for squats and lunges. Those are the areas soccer players lean on for stability when they change direction and strike the ball. The best resistance bands review explains the differences in resistance levels and band styles.
An agility ladder trains foot speed and coordination. It needs a straight strip of floor, so a garage bay or yard suits it better than a bedroom corner. Quick, light ground contacts, lateral steps and in-and-out patterns are standard ladder work. Check the agility ladders for soccer speed and footwork list for options by length and build.
Neither piece replaces a proper conditioning plan. If you want to structure the physical side across the year, the off-season soccer conditioning plan lays out phases so the home gear supports a progression instead of random workouts.
Gear you can skip until later (and the small upkeep items worth buying early)
A spending ceiling gets tested by the extras, so it helps to know which ones can wait.
Safe to skip at first:
- Large goals. They need the most space and the most money, and a target or compact net covers most of what a solo player needs.
- Electronic or light-based reaction systems. They train decision speed, but you will get more from the basics until your touch and passing are consistent. When you reach that stage, the guides on faster decision making and reaction time can help you choose.
- Duplicate versions of gear you already have. A second ladder or a third set of cones adds little.
- Position-specific equipment, such as goalkeeper gloves or specialist cleats, until the rest of the setup is working. The goalkeeper gloves guide is there when a keeper needs it.
Worth buying early, because they protect everything else:
- A pump and a needle. A under-inflated ball changes how every pass and touch feels, so you end up practicing against a ball you will never play with. The best soccer ball pumps for players training every day comparison covers the choices.
- A mesh bag or storage bin. Gear that has a home gets put away, and gear that gets put away lasts longer.
- Spare cone markers or a small repair kit for the net, if your rebounder or goal uses ties, pegs or clips that can wear out.
- A wipe-down cloth. Dirt and moisture reduce grip on a mat and degrade the ball’s surface.
Three sample labs by space
Each lab lists the pieces in the order to buy them. The first item on each list is the only purchase you need to make this week.
Bedroom corner
- A low-bounce ball suited to indoor use
- A training mat for close control and ball mastery
- Resistance bands
- A few flat markers
- A pump
This lab leaves out the rebounder deliberately when the room is small or the noise is a problem. If you have a clear wall and permission to use it, a soft-ball wall drill can stand in for it.
Garage bay
- A rebounder
- A training mat
- An agility ladder
- A shooting target, if you have a goal or net to hang it in
- Cones, bands and a pump
A garage has the floor and the shelter, so it is the best place to leave gear set up. Check where the car, tools and shelving sit before you decide the rebounder’s position.
Small yard
- A rebounder
- A compact net or portable goal
- Shooting targets
- Cones
- An agility ladder, bands and a pump
The yard gives you the shooting space, so finishing practice moves up the list. Before any shot, work out where a miss will land and what it could hit.
A four-week order to build your lab without overspending
Spreading the purchases over four weeks lets you find out what you actually use before spending on the next piece.
- Week 1: Buy the first piece from your sample lab, usually the rebounder or the mat. Use it for the whole week, a few short sessions rather than one long one.
- Week 2: Add the footwork piece, either the mat or a small set of markers. Combine it with what you did in week one, for example a first-touch drill on the rebounder followed by close-control work on the mat.
- Week 3: Add finishing equipment, a target, or a compact net if your space allows. Keep this to accuracy work until you are sure of where the ball will go.
- Week 4: Add bands, the ladder and the upkeep items. By now you will know where your setup has gaps, so you can pick the extras that fill them.
If you find a piece you are not using by week three, stop buying and fix that first. Sessions of 20 to 30 minutes done consistently will do more for you than a full setup that is rarely touched, and a short stretch before and after helps you stay fit to keep going. The daily stretching routine for soccer players fits around these sessions without taking much time.
Pick one of the three sample labs that matches your space, buy only the first piece on its list, and use it for a week before you add anything else.