Soccer formation explained tactics can often seem as intricate as a well-played symphony. For many fans and newcomers to the sport, understanding various formations helps explain why some teams perform a certain way on the field. In this article, I check out soccer formations, break down common structures, and talk about the reasoning behind each setup. Whether you watch games for leisure or are curious about team strategies, understanding these formations makes watching matches more engaging.
Essential Soccer Formations for Beginners
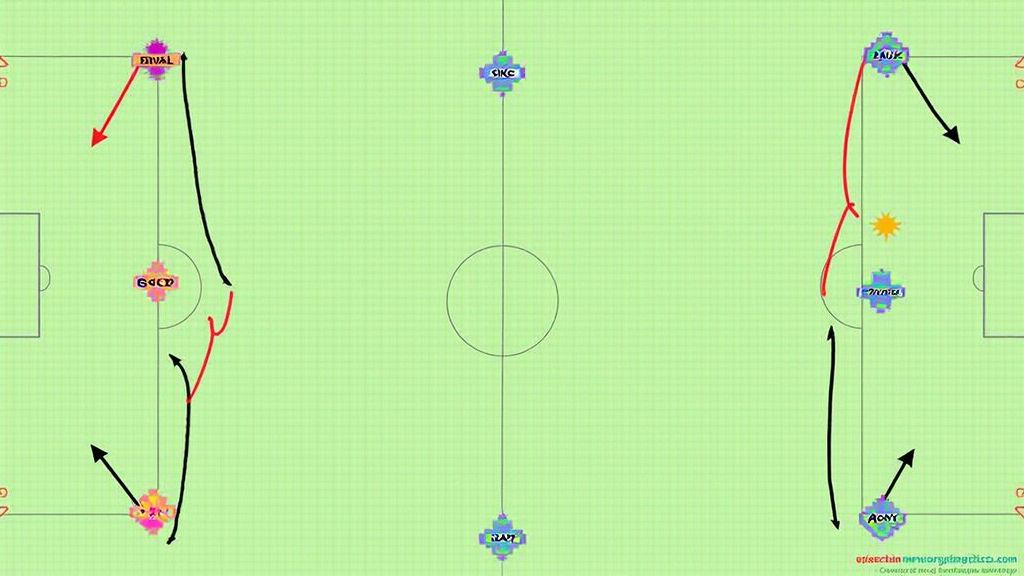
Soccer formations define how a team is organized on the pitch. They indicate the distribution of players across defense, midfield, and attack. Often labeled with numbers like 4-4-2 or 4-3-3, these formations highlight the balance teams seek during a match. Each formation is not only a tactical blueprint but also a plan that can influence the flow of the game.
Newcomers to soccer might find it surprising how much thought goes into positioning. As teams evolve, managers choose formations to suit player strengths, manage fatigue, or exploit an opponent’s weakness. Formations may switch up during a match, and understanding the basics provides insight into on-field decisions.
For example, the popular 4-4-2 formation is appreciated for its balance. This setup positions four defenders, four midfielders, and two forwards. The clear division of responsibilities offers a starting point for exploring how tactics develop during play.
Getting Started with Understanding Soccer Formations
Before jumping into high-level tactics, it helps to look at the fundamental elements of a soccer formation. Each number in a formation, such as in the 4-3-3 setup, represents a line of players assigned to defense, midfield, or attack. This simple representation underscores the importance of positioning and team roles.
To understand formations deeply, consider the following key points:
- Defender Organization: The back line minimizes space for opposing attackers while supporting midfield transitions.
- Midfield Dynamics: Midfielders serve as both the defensive barrier and the creative hub, linking defense and attack.
- Forward Structure: Attackers are tasked with creating opportunities and scoring, often with support from midfield.
These points lay the groundwork for how teams coordinate their play. Even though the numbers in a formation are fixed, the flexibility in each player’s role can vary based on a coach’s strategy and the game situation.
Many resources, such as tactical boards and analysis articles, can provide further details on how these elements work together. Understanding these basics is a stepping stone toward a broader appreciation of the strategic nuances in soccer.
Important Considerations When Studying Formations
Soccer formations are not set in stone and often demand adjustments based on the flow of the game. Before memorizing formation types, it is very important to consider a few factors that affect their effectiveness.
- Player Roles: A formation works as well as the players executing it. Roles may switch up depending on each player’s strengths and adaptability.
- Opponent Styles: Teams often change their setup in response to their opposition’s positions and tactics. A flexible formation is very important.
- Game Phases: What might work in the early minutes could change as fatigue sets in or as teams adjust to one another’s strategies.
- In-Game Adjustments: Coaches frequently alter formations to respond to events like goals, injuries, or changes in momentum.
These factors highlight the dynamic nature of soccer. No single strategy can cover every possibility, so being prepared to recognize and understand on-the-fly changes is a key part of soccer formations.
Player Positioning
Player positioning remains a cornerstone of any tactical setup. In formations like 4-4-2, positioning emphasizes clear roles for defenders and midfielders to contain the opposition. In setups like 3-5-2, midfielders may have both defensive duties and offensive support, creating a more fluid style.
Tactical Flexibility
The most successful teams often adapt their formation as the game unfolds. When a team switches up from a defensive to a more attacking structure, understanding the subtle changes in player roles is key. This flexibility can keep opponents off balance and is a hallmark of modern soccer tactics.
Communication and Coordination
Although formations might be planned before kickoff, players constantly communicate to adjust positioning. Whether it is a quick change in midfield or a sudden push by the forwards, coordination underpins the effectiveness of any formation.
Recognizing these considerations can enrich how you view soccer matches. The interplay between formation, player roles, and game dynamics creates an intricate narrative that unfolds with every match.
Advanced Tips and Tricks for Utilizing Formations
Once you’re comfortable with the basics, some advanced ideas can further your understanding of soccer tactics. With a deeper grasp of formations, you can appreciate subtleties that might otherwise go unnoticed during a casual viewing.
Study Historical Case Studies: Look at past matches known for tactical innovations. Watching old games where formations were switched up mid-game or where a coach made a breakthrough strategic decision can reveal a lot about how tactics have developed over time. Key insight: Analyzing classic matches helps you recognize critical moments when a formation change influenced the game.
Explore Formation Variations: Many managers tweak standard formations to better suit their team’s characteristics. For instance, a 4-3-3 might be altered to a 4-2-3-1 when a player can offer a dual role in midfield and attack. Key insight: Adaptability in formations underscores the creative side of soccer strategy, allowing teams to make the most of their strengths.
Use Tactical Software: Digital tools and apps allow fans to visualize different formations on a digital pitch. Experimenting with these tools can make it easier to see how small changes in player positioning can make a big difference on the field. Key insight: Visual aids can turn abstract tactical concepts into something more concrete and accessible.
These advanced strategies offer ways to further explore the tactical landscape of soccer. For those interested in coaching or simply improving their understanding, jumping deeper into these topics provides a richer perspective on the game.
Breaking Down the Basics: Key Formations Explained
Learning about formations comes down to knowing what each setup aims to achieve. Below, I detail a few key formations that often appear in professional soccer:
- 4-4-2 Formation: This classic formation is all about balance. With four defenders, four midfielders, and two strikers, it presents a structure that emphasizes solid defense along with counterattack support.
- 4-3-3 Formation: Favored by teams that press high up the pitch, this setup uses three forwards to apply pressure on the opposition. The three midfielders work to control the game and support both defense and attack.
- 3-5-2 Formation: This arrangement uses three central defenders and offers a strong midfield presence. It aims to dominate the center of the park while keeping two forwards ready to capitalize on scoring chances.
- 4-2-3-1 Formation: This system places emphasis on a lone striker supported by an attacking trio. With two midfielders anchoring the back, it fosters a solid defensive structure while enabling quick transitions to offense.
Each formation has its distinct advantages and trade-offs. The choice might rely on a coach’s philosophy, the opponent’s strategy, or game conditions. Knowing what these formations aim to achieve adds depth to the viewing experience.
This breakdown offers a solid grounding for further exploration. As you start following different leagues, you will notice the subtle changes in formation that signal a team’s planned strategy or a tactical reaction during a match.
Frequently Asked Questions
Here are some common questions often asked by soccer fans intrigued by formations:
Question: Why do teams change formations during a match?
Answer: Coaches adjust formations to handle tactical challenges, respond to fatigue, or exploit an opponent’s weaknesses. Changing a formation might help shore up defense or boost offense at a crucial moment.
Question: Which formation is best for a balanced team?
Answer: The 4-4-2 formation is often seen as balanced because it evenly divides players across defense, midfield, and attack. However, the best formation depends on the specific skills and strategy the team employs.
Question: Can formations be changed mid-game?
Answer: Yes, many managers make in-game adjustments to their formations. These changes can be prompted by injuries, a change in game tempo, or the need to counter an opponent’s tactics.
Wrapping Up
Soccer formations provide a framework that holds the game together. They are more than just numbers on a board. They reflect a coach’s tactical intentions and a team’s strategic approach. By understanding common formations such as 4-4-2, 4-3-3, 3-5-2, and 4-2-3-1, you gain valuable insights into how teams plan their play.
This knowledge breaks the game into understandable parts and reveals the complexity behind what might seem like simple positioning. Whether you’re a casual observer or an aspiring tactician, each formation shows that soccer is as much about strategy as it is about individual talent.
Taking time to study these formations enriches your viewing experience by linking familiar numbers with on-field actions. Enjoy the process of stumbling upon new insights as you watch live matches. Over time, these insights build a deeper appreciation for the beautiful game and its tactical subtleties. Enjoy watching the match. Notice the small adjustments that make every game a unique tactical battle!
rcNIdq GJmQ iReqv OUn GcpZFTMo